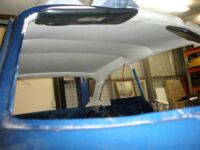
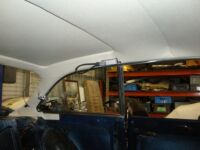
This would be the most challenging parts of the rebuild! I never did this before, but it turned out great! So happy with the result.
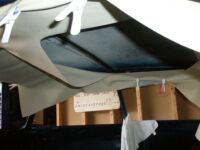
To get the position right, I mounted the frame and positioned the headliner
Alfa Romeo giulia 2000 1750 gtv gt veloce Berlina 1968 restoration restauratie rebuild
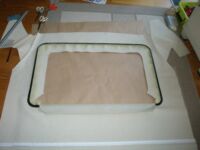
Glueing the front part first gives a good basis to work from
Alfa Romeo giulia 2000 1750 gtv gt veloce Berlina 1968 restoration restauratie rebuild
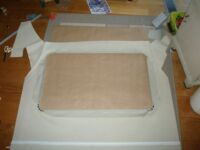
Frame all glued in position and corners cut
Alfa Romeo giulia 2000 1750 gtv gt veloce Berlina 1968 restoration restauratie rebuild
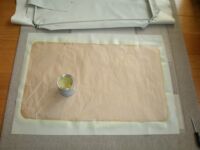
Drawing the shape of the frame on a pieces of paper and cut 4 wider (so no glue visible when ready. I used this as a template to apply glue.
Alfa Romeo giulia 2000 1750 gtv gt veloce Berlina 1968 restoration restauratie rebuild
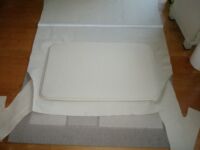
This is the tricky part as you can’t see exactly what you are doing! Gluing on the seperate piece.
Alfa Romeo giulia 2000 1750 gtv gt veloce Berlina 1968 restoration restauratie rebuild
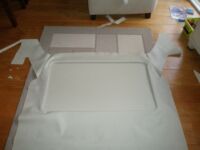
It turned out great!
Alfa Romeo giulia 2000 1750 gtv gt veloce Berlina 1968 restoration restauratie rebuild
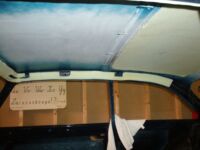
Starting to apply foam
Alfa Romeo giulia 2000 1750 gtv gt veloce Berlina 1968 restoration restauratie rebuild
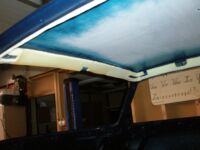
The big piece of foam still missing
Alfa Romeo giulia 2000 1750 gtv gt veloce Berlina 1968 restoration restauratie rebuild
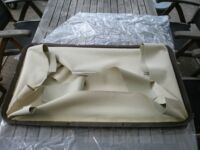
A layer of thin foam around the frame
Alfa Romeo giulia 2000 1750 gtv gt veloce Berlina 1968 restoration restauratie rebuild
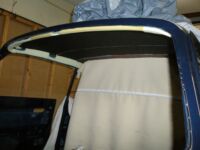
Frame mounted and Acousticab applied to the roof
Alfa Romeo giulia 2000 1750 gtv gt veloce Berlina 1968 restoration restauratie rebuild
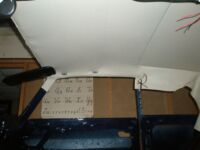
Front section all mounted.
Alfa Romeo giulia 2000 1750 gtv gt veloce Berlina 1968 restoration restauratie rebuild
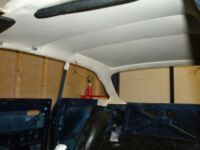
And after a few tries the back also nicely fitted!
Alfa Romeo giulia 2000 1750 gtv gt veloce Berlina 1968 restoration restauratie rebuild

